The rowing machine; a machine that is present in almost every gym. And despite this being a very popular machine, many mistakes are still made in terms of form.
So do you want to learn to use the rowing machine perfectly?
Then you’ve come to the right place! We will discuss the good form and common mistakes as well.
Table of Contents
- Why use the rowing machine?
- Proper form for the rowing machine
- Rowing schedule for your training
- Common mistakes
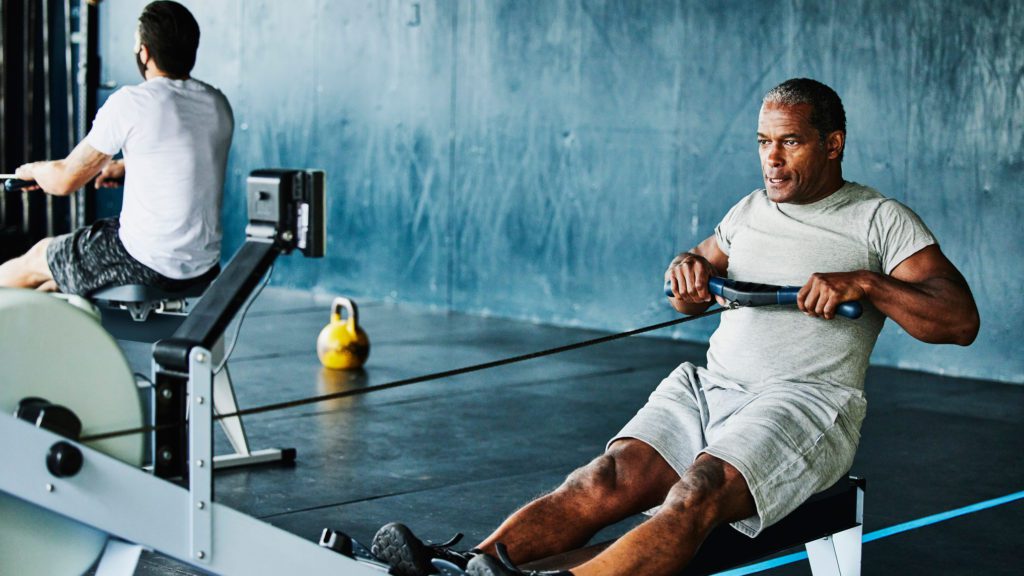
Why use the rowing machine?
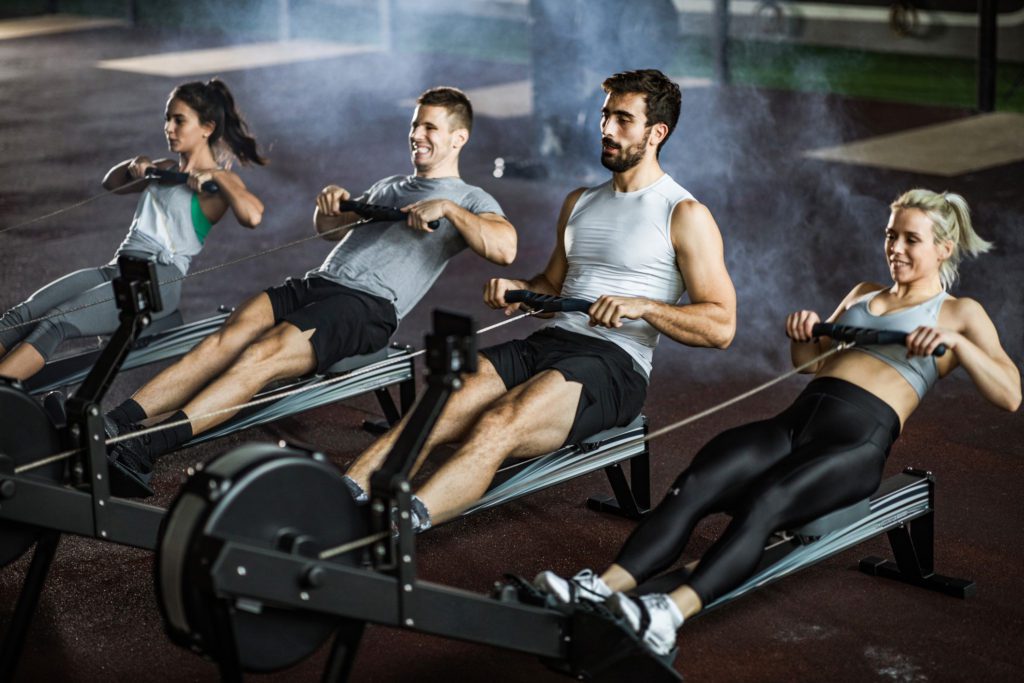
The rowing machine is a very popular machine and for good reason!
You can see it as a multifunctional exercise.
On the one hand you work on your endurance and on the other hand on building muscle.
Coordination also plays a major role because your muscles have to work well together to perform the correct movement.
Now you may be wondering; which muscles do I train with the rowing machine?
We will now discuss the muscles you use.
- Leg muscles : You mainly use your leg muscles during the push-off. The quadriceps is the muscle group in your legs that you use the most.
- Abs : Many people forget the importance of abs during this exercise. Keeping tension on the abs makes for a better form, which we’ll come back to in a moment. If you are interested in a workout to strengthen your abs click here.
- Back muscles : Your back muscles are especially involved in the part of the exercise where you pull the lever toward you. Both your upper and lower back provide strength during the exercise.
- Arm muscles : Your arm muscles are also involved in the part of the movement where you pull the lever toward you. The biceps provide the most power, but the triceps are also activated.
Proper form for the rowing machine
We will first discuss the different parts of the rowing movement, then we will explain the movement in steps and after that there is a clarifying video.
The 4 phases of the rowing movement are:
- The catch
- The drive
- The finish
- The recovery
- The catch : In this part of the movement you move backwards from the starting position. You do this by stretching your legs, you don’t do anything with your upper body yet.
A number of focus points are important at the starting position:
- Keep your shin vertical
- Keep your back straight
- Sit slightly bend over (about 15 degrees)
- Keep your arms stretched out
- Relax your shoulders
- The drive : In the second part of the movement, move your upper body back. Your arms and shoulders still don’t have to do any work. You started at an angle of about 15 degrees forward and in the drive you move until you make a 15 degree angle backwards.
A number of focus points are important during the drive:
- Keep your back straight
- Keep your arms stretched out
- Tighten your abs
- The finish : During the finish move the lever toward the bottom of your chest. At the end of this part of the movement, your elbows will stick out slightly at the back of your torso.
A number of focus points are important during the finish:
- Keep your back straight
- Keep your legs stretched and relaxed
- Your upper body is still make a 15 degree angle backwards
- The recovery : You can see the recovery as a rest phase, you move back to the starting position without load. You go through the first 3 phases in reverse order.
Below is an illuminating video to help visualize these steps. Skip the video to minute 2:22 to see the full movement.
Now we will explain the rowing movement again, but now on the basis of 8 clear steps.
- Sit on the seat board and pull the foot straps so tight that your feet can no longer move.
- Grab the lever and sit in a 15 degree leaning position with your back straight.
- Now stretch your legs, but don’t change the positioning of your arms.
- Move your upper body until you make a 15 degree angle back. Keep your back straight.
- Pull the lever to the bottom of your chest.
- Stretch out your arms.
- Bend your torso until a 15-degree forward angle is reached.
- Bend your legs.
Rowing schedule for your training
Before you start using the rowing machine, it is important to make a rowing schedule.
This is a schedule that you have to put together yourself and depends on your own goals.
For example if you want to focus on explosive power you will choose to row with a high intensity. However, if you want to focus on endurance, you will choose to row for long periods at a lower intensity.
We now give some examples of rowing schedules that you can use.
| Schedule 1 | Schedule 2 | Schedule 3 (2 persons) | Schedule 4 |
| Slow rowing for 30 seconds | Slow rowing for 250 meters | Row as fast as possible for 500 meters | 500 meters rowing |
| Row as fast as possible for 30 seconds | Row as fast as possible for 500 meters | Now the other person is going to row 500 meters as fast as possible | Strength exercise |
| Repeat this as often as you want | Repeat this as often as you want | Repeat this as often as you want | 500 meters rowing |
Common mistakes
Now we will discuss some mistakes in the rowing movement that are very common.
- A concave or convex back : A lot of people don’t keep their back straight during the exercise. Try to encourage a straight back by making good use of your abs.
- Pulling the lever to the wrong place : For optimal performance it is important to pull the lever towards the bottom of your chest. If you pull the lever too high towards your body, your shoulders will experience much more stress and you run the risk of injury.
- Wrong order : Many people perform the parts of the movement in the wrong order, especially in the recovery phase. Make sure you use the aforementioned step-by-step plan to prevent this from happening and possibly start with very slow rowing to get the order in your system.
Lifestyle coach [5+ years of fitness experience]